Big Lake - 3D Modeling
The Big Lake photosims were a unique project in that even the background photo had to be created. The photo that was taken on site did not adequately show the two alternatives being considered. That photo was used as digital image source material to paint in a new background view over a 3D rendering of the road alignments and surrounding DTM in Photoshop. The new and existing roadways, cars, people and added landscaping were then painted in over the simulated background view.
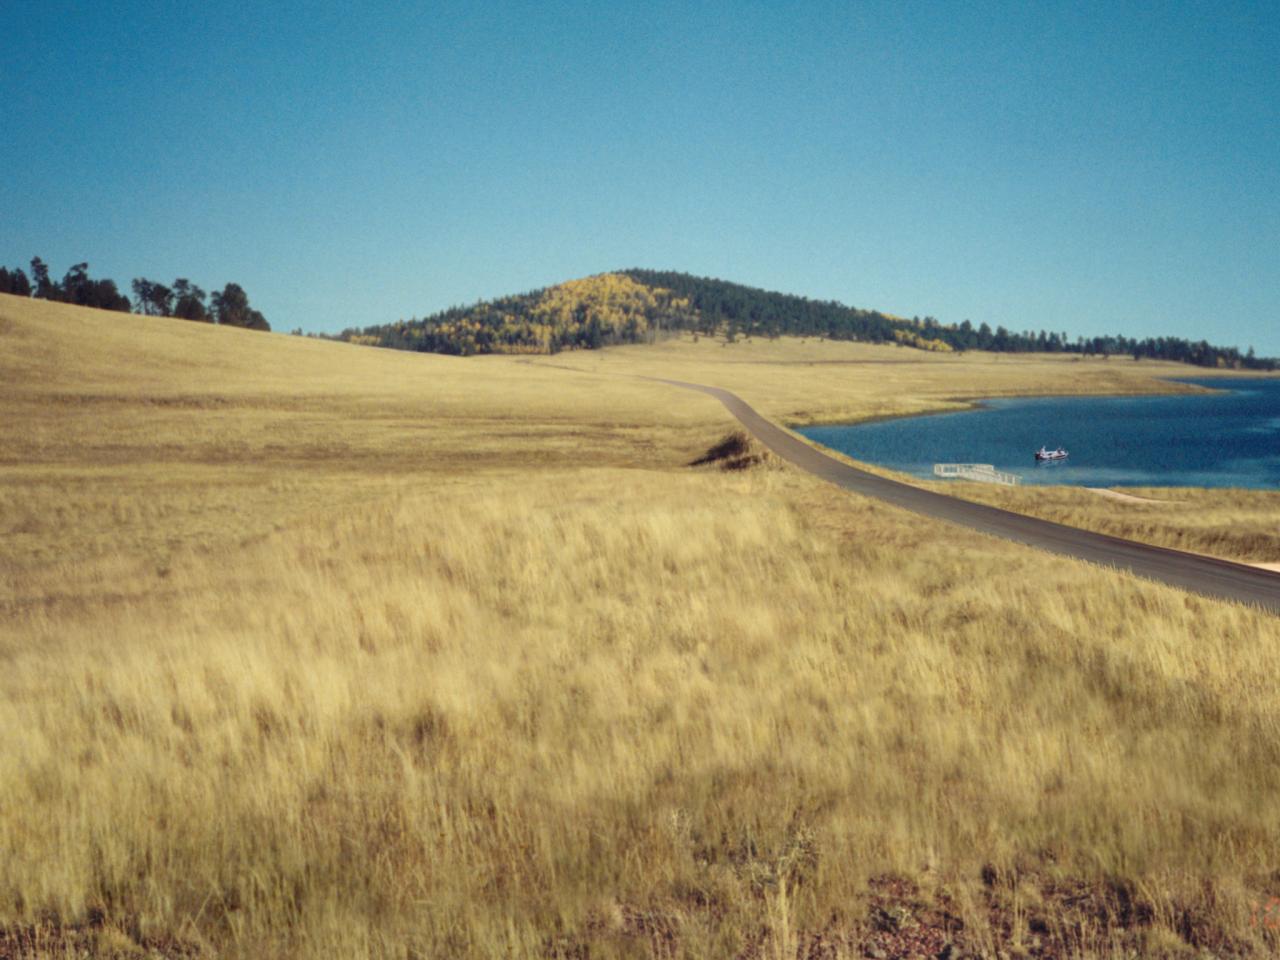
Big Lake Existing Photosim (click image for high resolution view - 1.7MB)
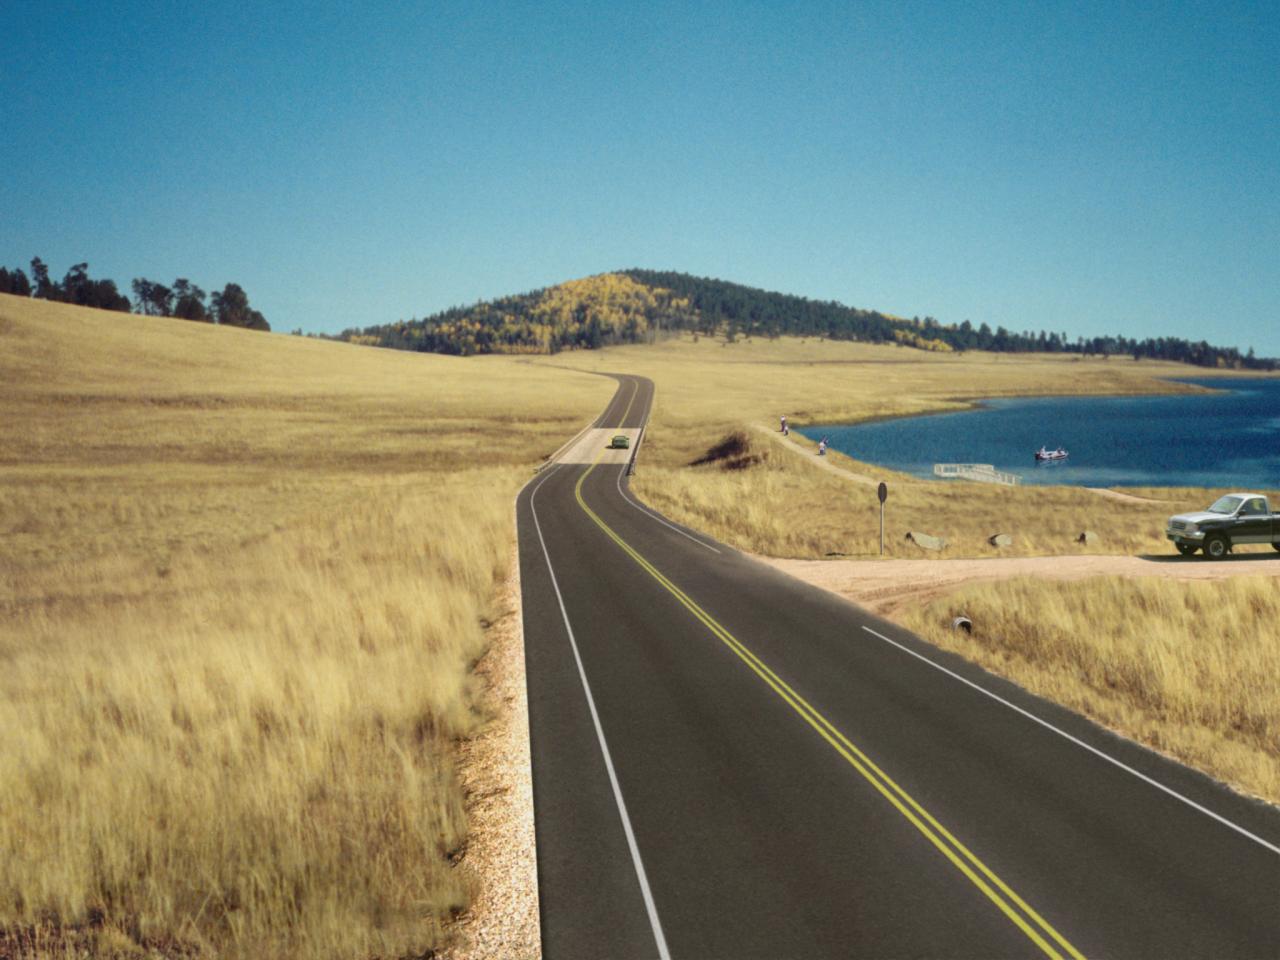
Big Lake Off-Dam Alternative Photosim(click image for high resolution view - 1.6MB)
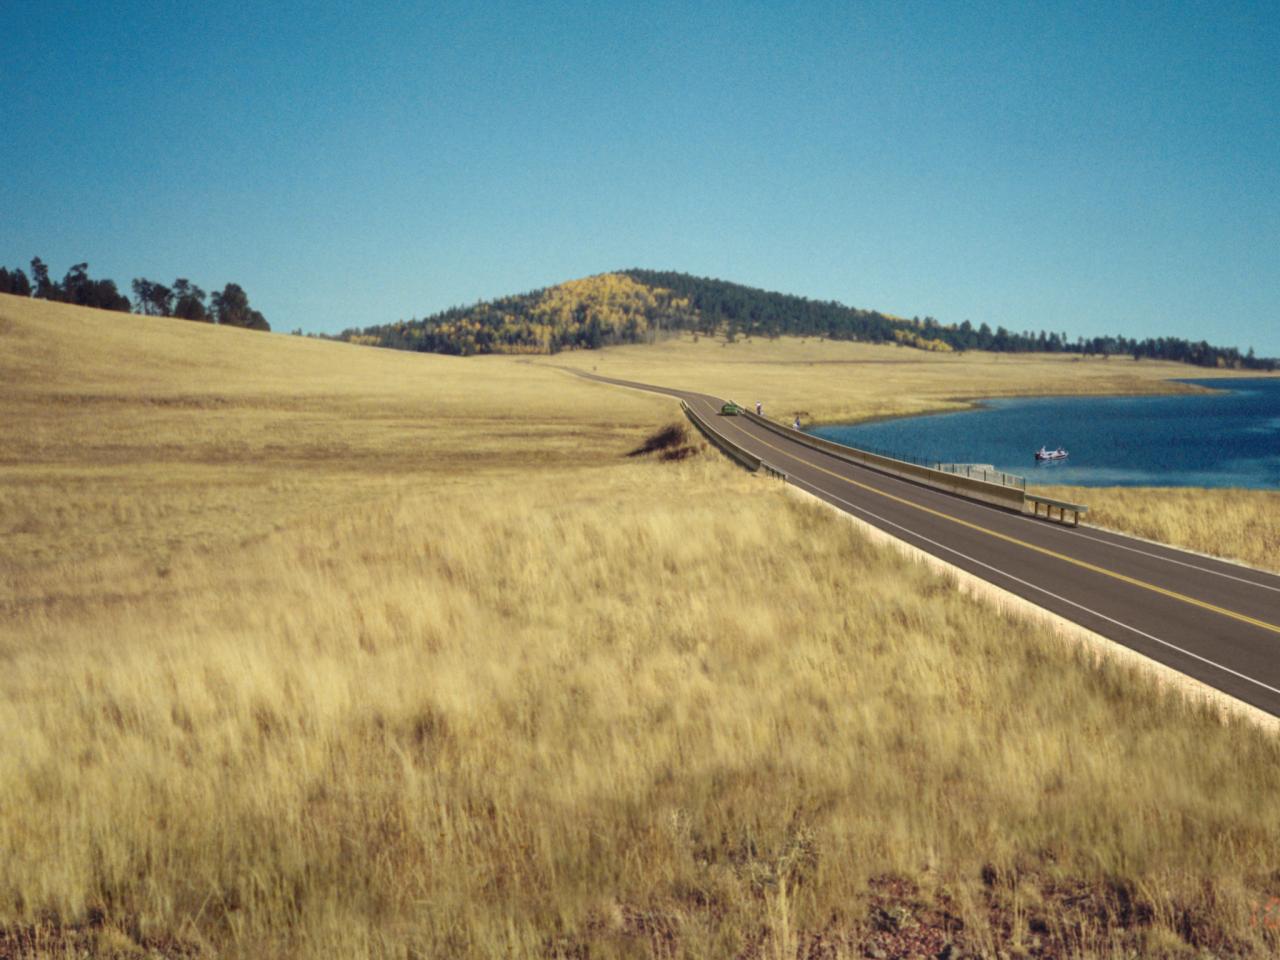
Big Lake On-Dam Alternative Photosim (click image for high resolution view - 1.7MB)
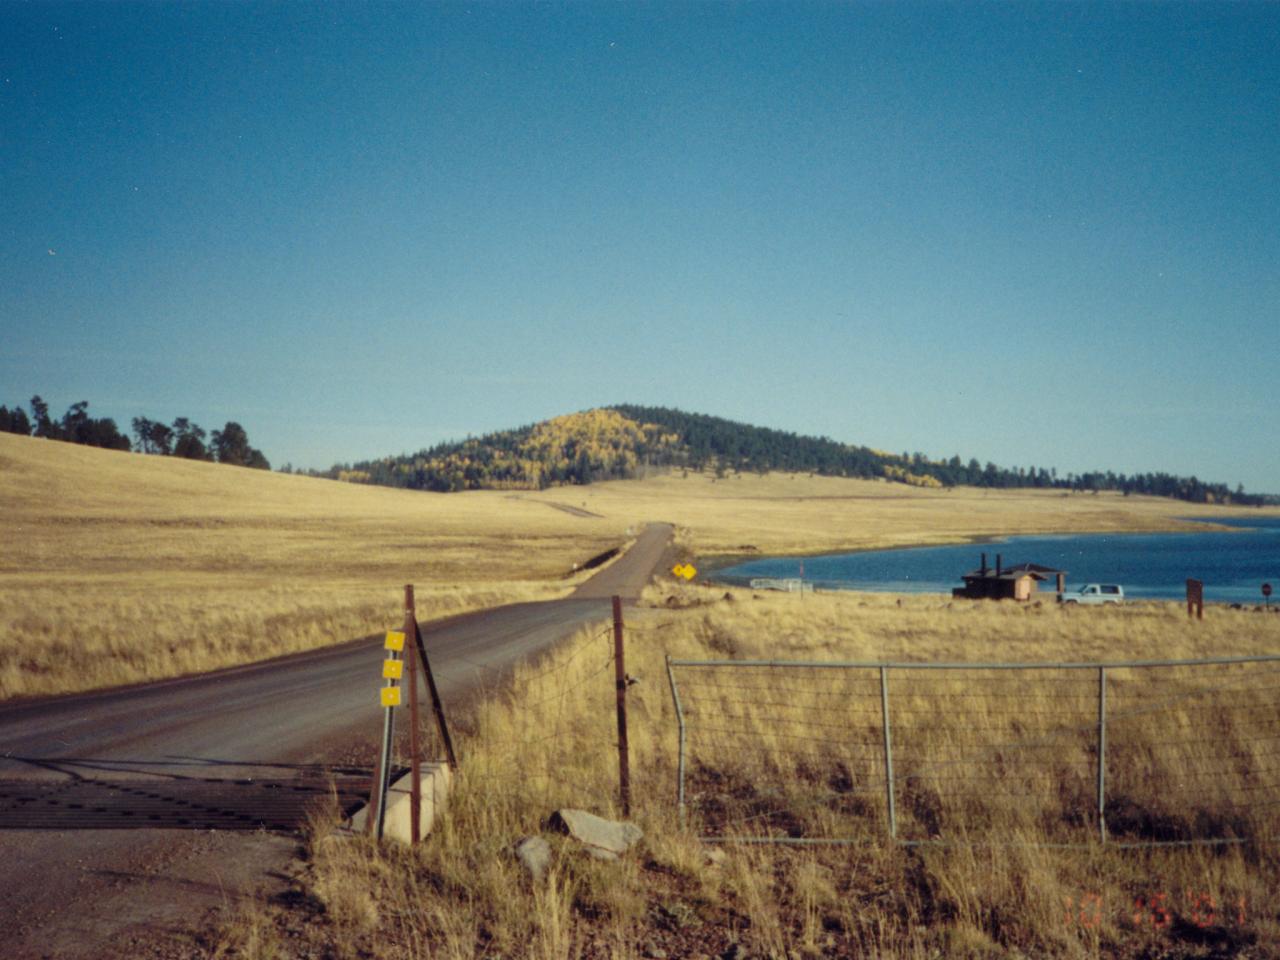
Source Photo for Photosims (click image for high resolution view - 2.0MB)
Photosimulation Process
Two alternatives for the new road adjacent to the Big Lake Dam had been developed and modeled in Geopak. Some site photos had been captured with the goal of using them as backgrounds for photosims illustrating the two alternatives. After the wireframe models for the alternatives were camera matched to the photo, the design team decided the vantage point did not adequately illustrate the alternatives. Using the 3D models of the alignments and the surrounding terrain, the team then selected a viewpoint using a virtual camera set up in 3D Studio Max that everyone agreed would compare the two alternatives best. The model had been converted from Microstation to 3DS using a DXF export from Microstation, and an aerial photo was applied to the surface as a texture map- projected onto the surface in plan. This same camera setup process could just as easily have been completed in Microstation using a camera viewport.
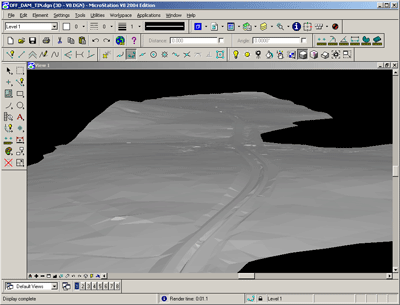
Surface including proposed road alignment in Microstation
An aerial photo was aligned to the surface in plan and projected onto it as a texture map. In the model renderings, the aerial helped identify locations for elements not visible in the surface- such as the existing roads and the dock.
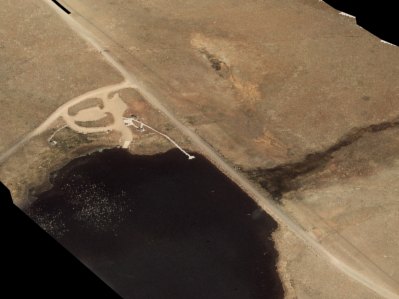
Rendering of surface with aerial view as texture map
Once a camera view was selected, renderings were produced for the terrain model and for the new road surface. Geopak was used to produce a TIN of the road surfaces, those surfaces were then exported to 3DStudio Max and an asphalt and striping texture map was applied.
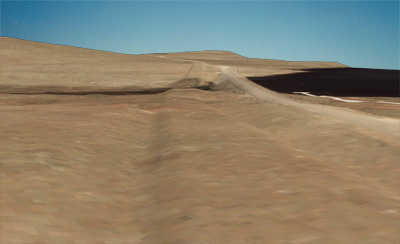
Rendering of terrain model including new roads and surrounding context
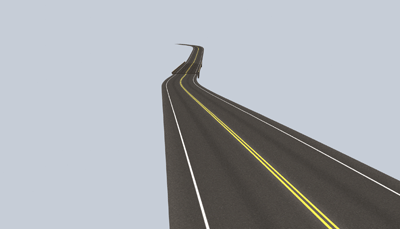
Rendering of one alternative for road alignment as a layer
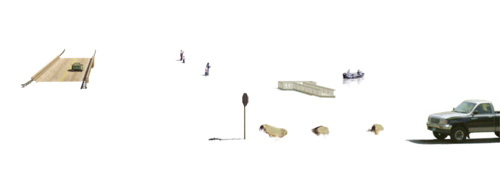
Details in the foreground of photosim, cars, people and boat can be rendered with shadows and reflections in 3DS Max.
The Max renderings, which included some cars and other context elements, were assembled as a layered Photoshop image file. The source image was then sampled for textures, and the 'existing' background view was built up using the images of grass, dirt, water, etc. from the source image. The trees and hills on the horizon were far enough away that the perspective was similar enough in the source view to the simulated view to use as they were.
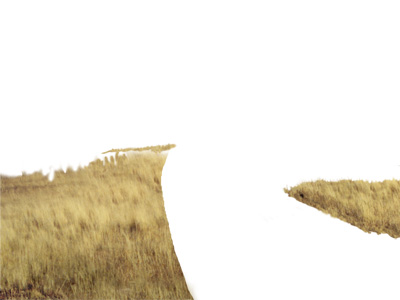
Foreground grass layer in Photoshop, painted in using imagery from source photo
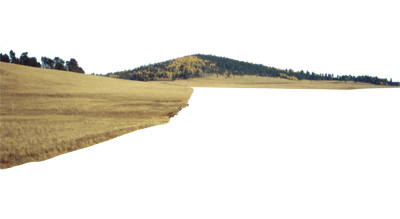
Background elements layer

Layer table for the Photoshop image
The resulting Photoshop file was built up with several layers to provide flexibility in moving elements around.
